Customer Portal
Getting Started in the Portal
Registering for the Utility Access Customer Portal

Sign in to the Utility Access Portal. If you have used the city eplace portal for a permit, plan, or license, use those login credentials. If you are a first-time user, select Create an Account at the bottom.

Enter your credentials: Email, First Name, Last Name, Mobile Phone, and a Password. Password Requirements include: 8 characters, an upper case, lower case, a number, and no parts of your username. Once entered, click Sign Up.

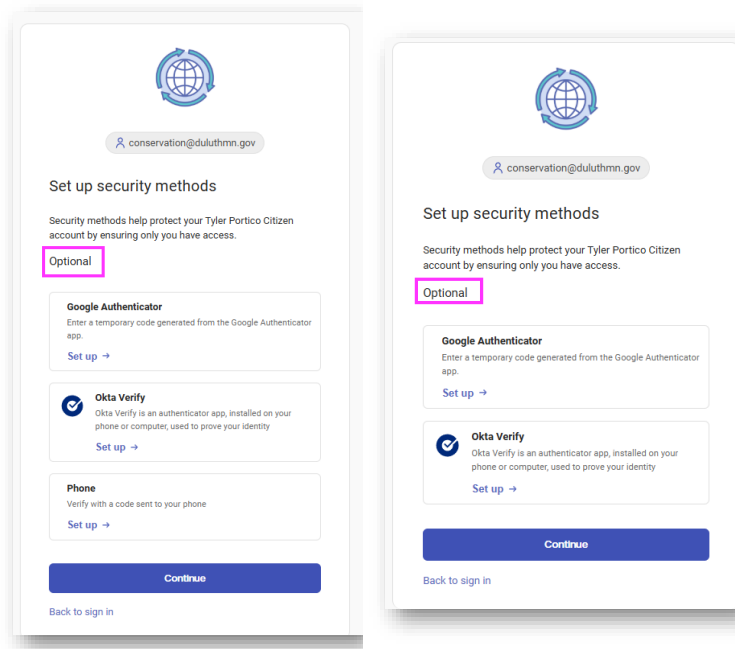
The next screens off an option to use Multi-Factor Authentication for your Auto Pay information. This is optional. If you do not want to enable multi-factor authentication, click continue.
At this point, Utility Access validates your email address. Enter the Code from the email to verify your account creation.

After registering, you are redirected to Utility Access to add your utilty account credentials.
Adding the First Utility Account in the Utility Access Portal
Login to the Utility Access Portal using your username and password. Remember, these are the same credentials as ePlace the City's online portal for licensing, permitting, and plans.
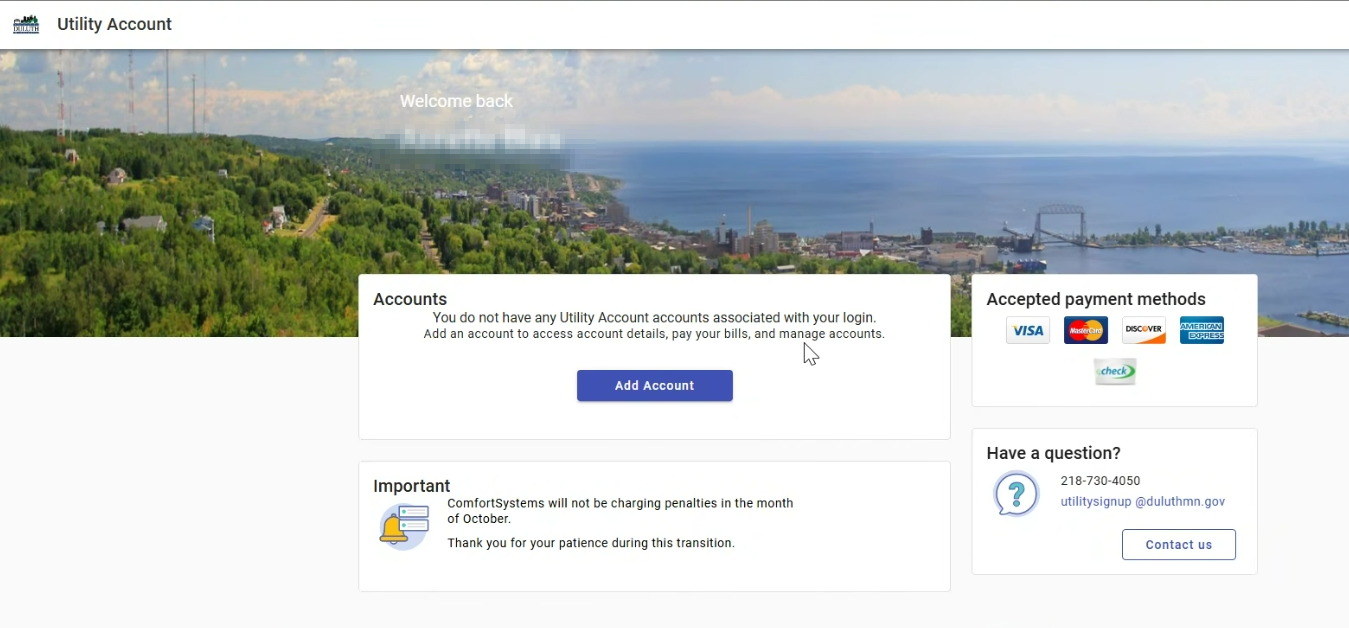
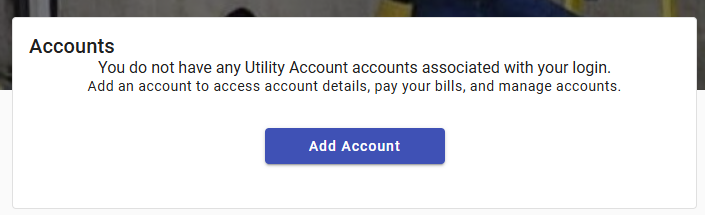
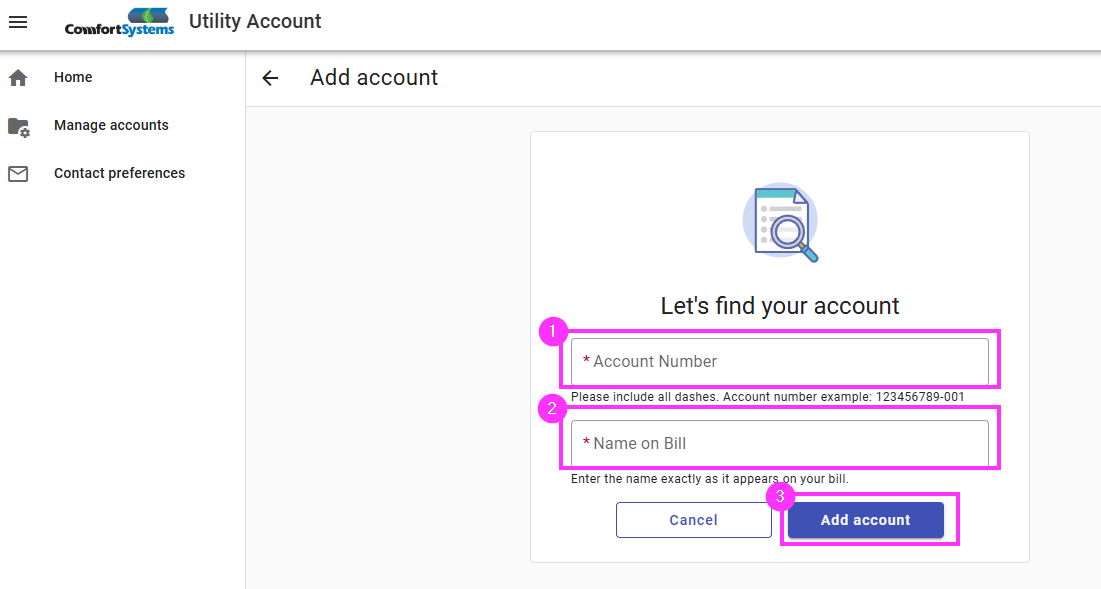
After logging in the first time, the user will be prompted with a box to add an account. Click the Add Account button.
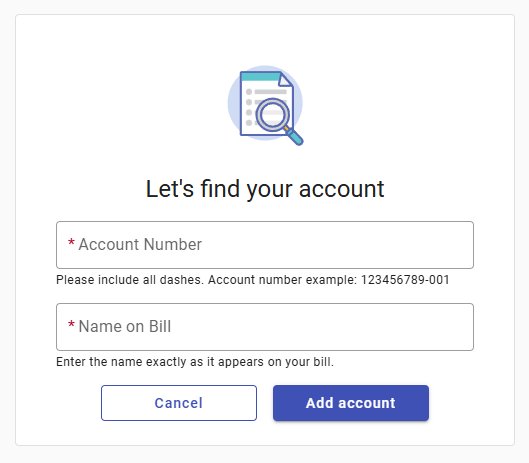
Enter the account Credentials. ComfortSystems account numbers are formatted 12345679-001 or 123456789S-001. Enter the name exactly as it appears on the bill. Click Add Account
Mobile Instructions
Mobile Instructions for Adding Additional Utility Accounts to the Utility Access Portal
To add an additional utility account in your portal, Click Add Account

Enter the Account Credentials. Click Add Account
Repeat for all utility and sundry* accounts.
*sundry accounts are for appliance service work and contain an S in the account number (i.e., 123456789S-001
Mobile Instructions for managing the eBill Settings in the Utility Access Portal

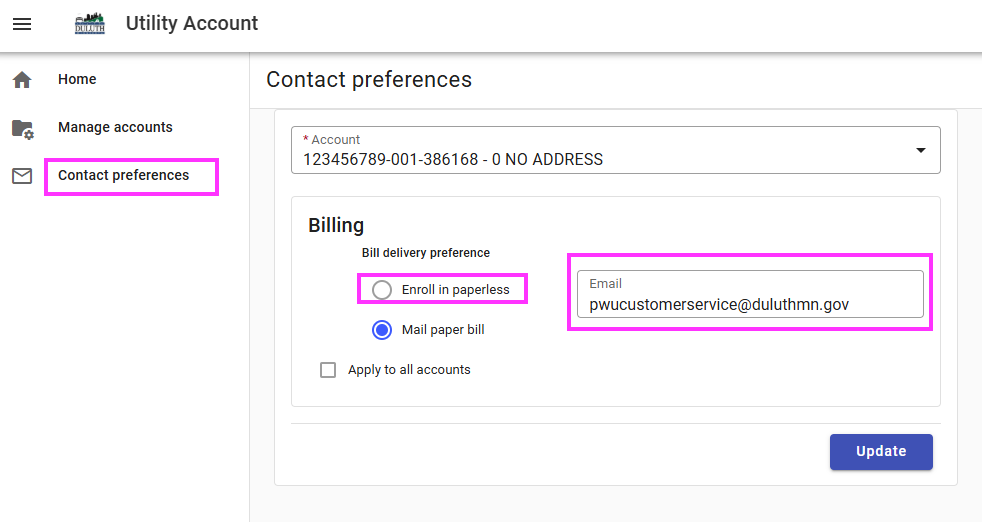
Select the radio button to enroll in paperless. Verify the email address you would like that ebill to be sent to.
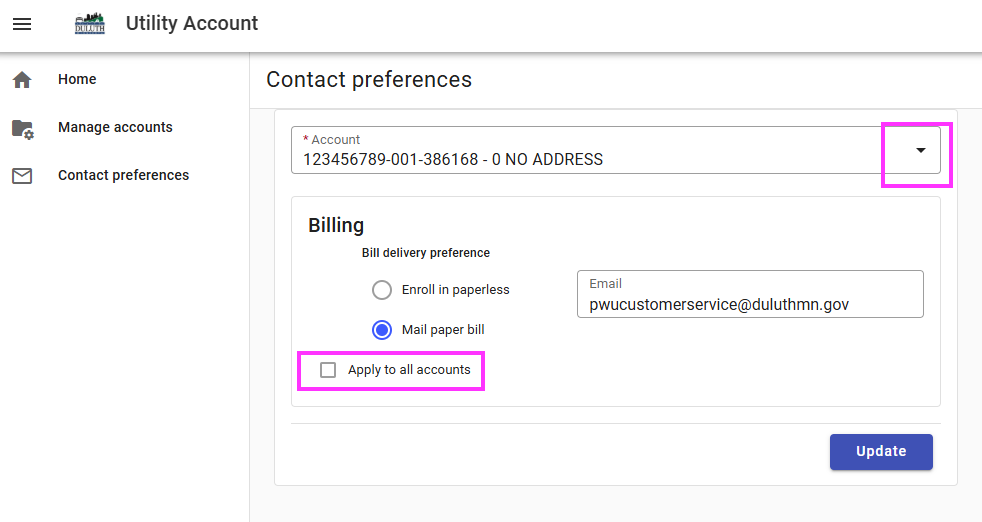
If you have multiple accounts linked, you can apply these settings to all of the utility accounts by checking the Apply to all accounts button or adjust the enrollment and email address for each account individually with the dropdown.
Desktop Instructions
Desktop Instructions for Adding an Additional Utility Account
Select Manage Accounts from the left sidebar navigation. Click Add Account
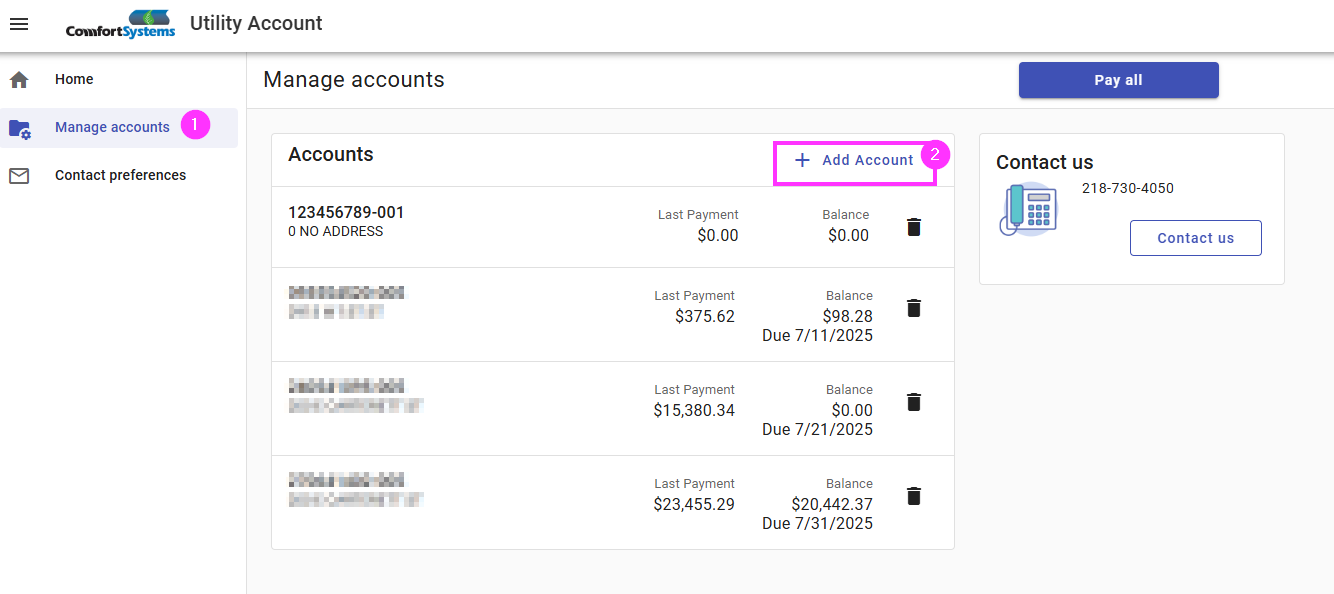
Enter the Account Credentials. Click Add Account
Repeat for all utility and sundry* accounts.
*sundry accounts are for appliance service work and contain an S in the account number (i.e., 123456789S-001
Desktop Instructions for managing your ebilling enrollment
Go to Contact Preferences on the left side navigation.

Select the radio button to enroll in paperless. Verify the email address you would like that ebill to be sent to.
If you have multiple accounts linked, you can apply these settings to all of the utility accounts by checking the Apply to all accounts button or adjust the enrollment and email address for each account individually with the dropdown.
Payments - AutoPay & Scheduling Payments
Making a One-Time Payment in the Utility Access Customer Portal
Click Pay Bills in the righthand corner of the portal
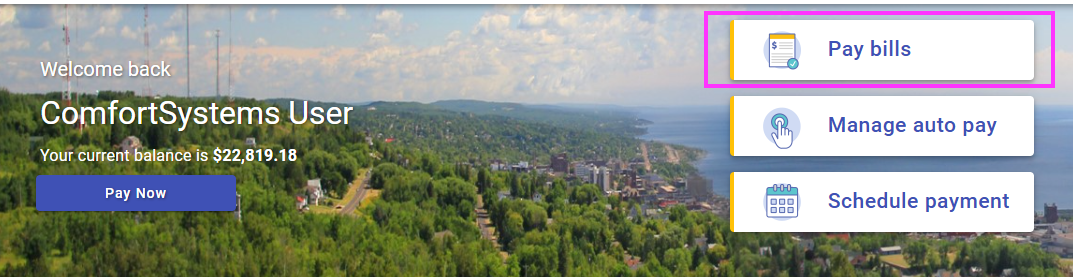
Select the account to pay and enter the amount

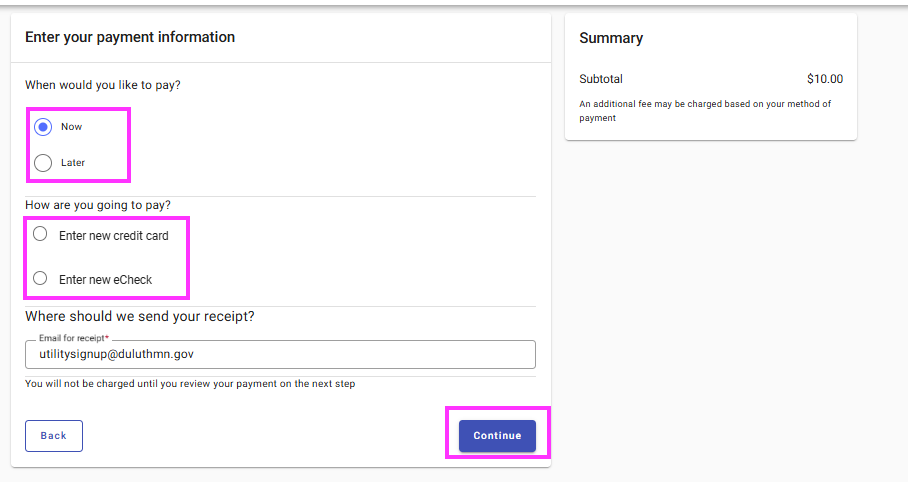
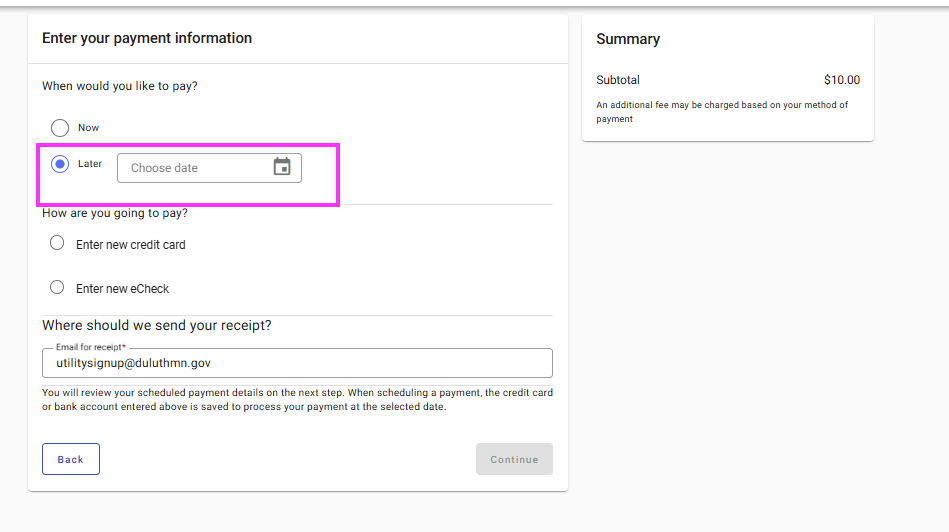
Select to pay now or later, enter the payment method, enter the email for the receipt, and select continue.
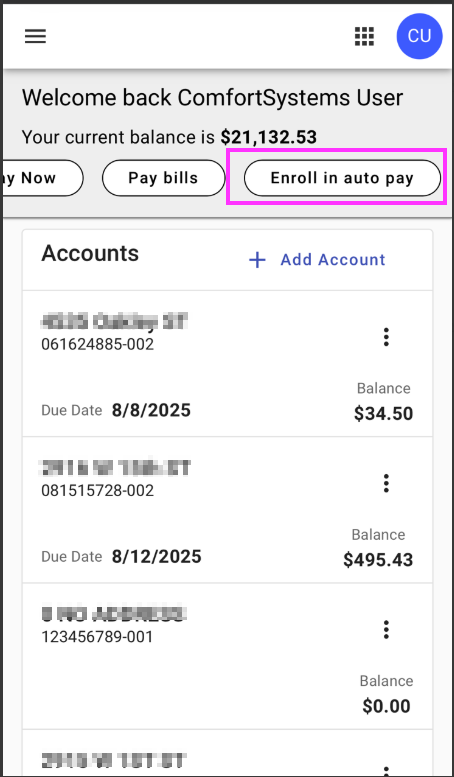
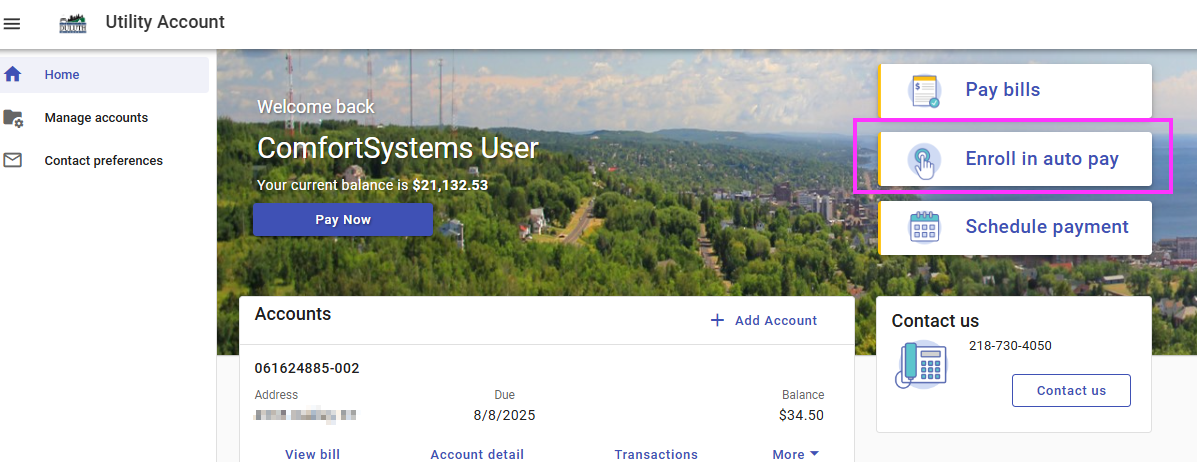
Instructions for enrolling in Auto Pay in the Utility Access Portal
Select Enroll in Auto Pay
On a Mobile Device
Add your payment method(s) in the upper righthand corner of the portal. Select the circle with your initials and select Payment Info.

Enter the payment method(s)
Back in the Utility Access Portal (this remains open in another tab), begin enrolling in autopay. For each account you will be able to select the appropriate saved method.
Select the date for the autopay

Select the payment method for the autopay

The account is now enrolled.
Desktop Instructions for enrolling in Auto Pay in the Utility Access Portal
First, add your payment method(s) in the upper righthand corner of the portal. Select the circle with your initials and select Payment Info.
Enter the payment method(s)
Back in the Utility Access Portal (this remains open in another tab), begin enrolling in autopay. For each account you will be able to select the appropriate saved method.
Select the account(s) to apply Auto Pay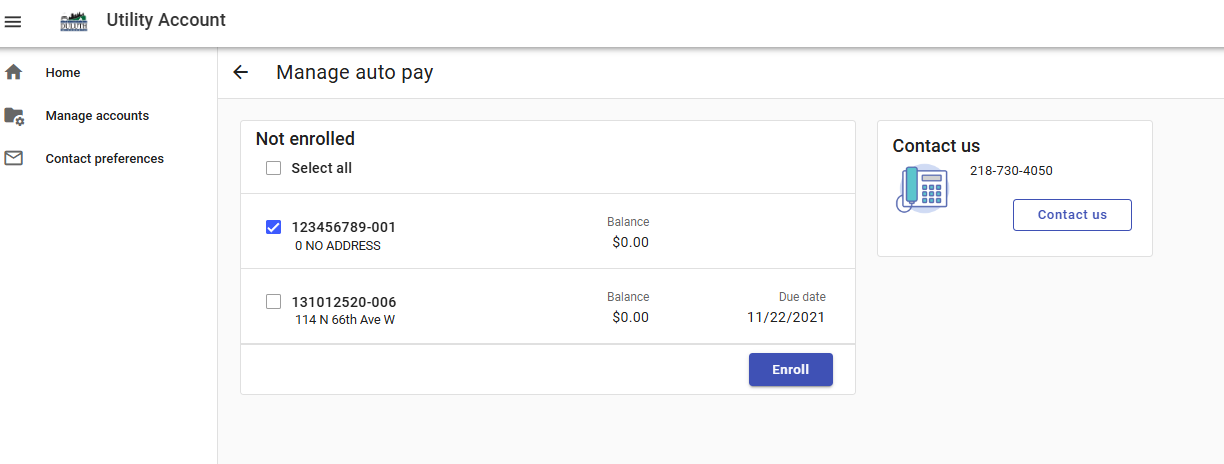
Select the due date and enter the payment method. Select Enroll Now.
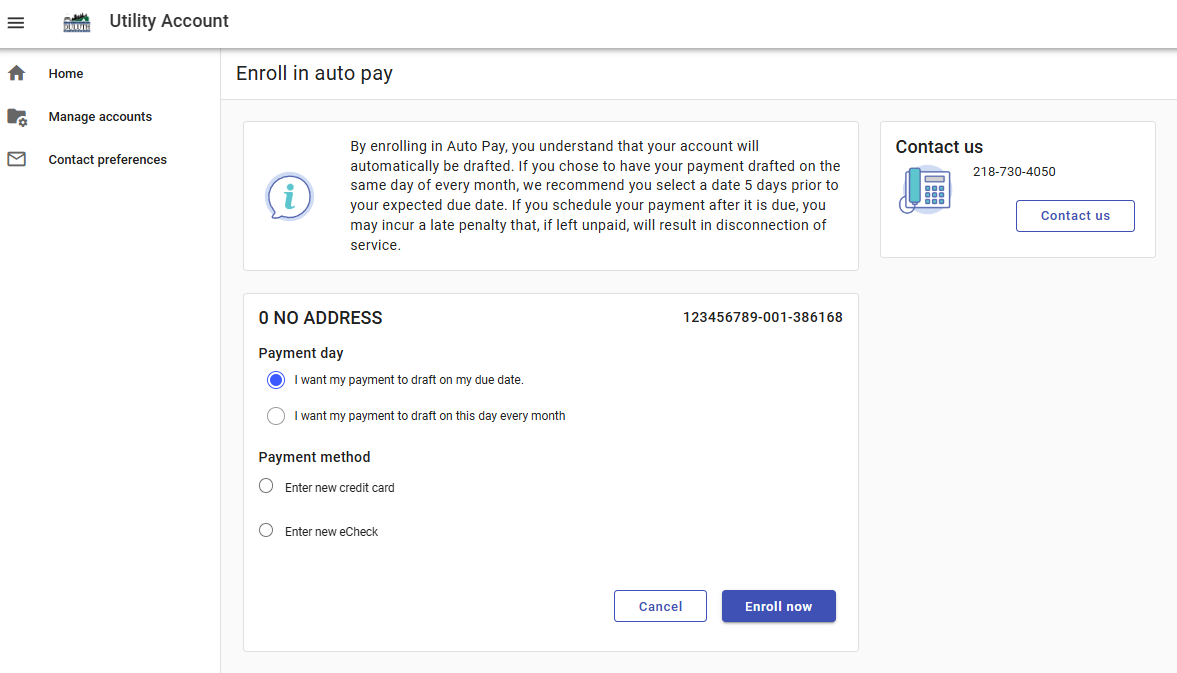
Select the payment information for autopay, verify the email address for the receipt and select Finish.
The account is now enrolled in auto pay.
Scheduling a Payment in the Utility Access Customer Portal
Click Pay Bills in the upper righthand part of the screen
Select the account to pay and enter the amount
Once logged in, you are directed back to the payment screen. Select to pay later and select a date, enter the payment method, enter the email for the receipt, and select continue.
Saving a Payment Method in the Utilty Access Customer Portal
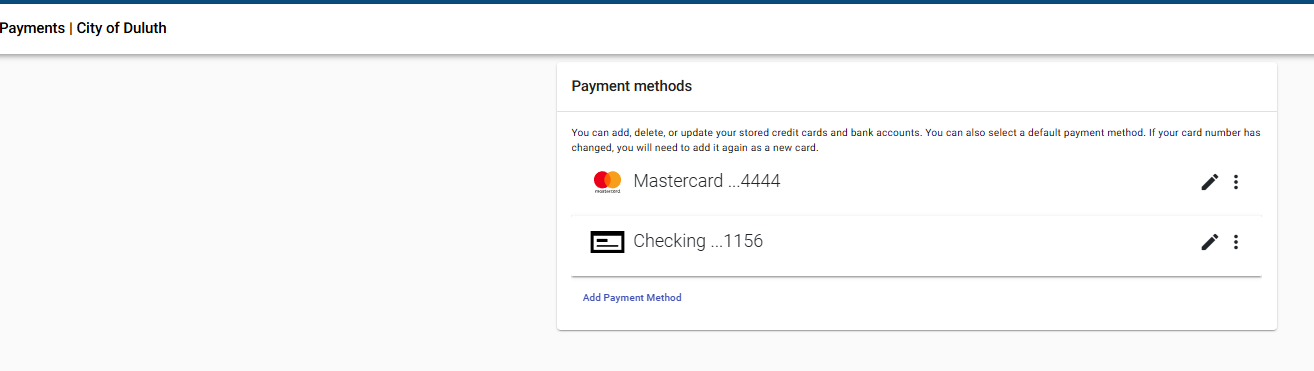
To add your payment method(s) in the upper righthand corner of the portal. Select the circle with your initials and select Payment Info.
Enter the payment method(s)
If you need to edit an expiration date, you can do so by editing the payment method using the pencil on the righthand side of the payment method. Users can enter as many payment methods as he or she chooses.
Coming Soon